Git Intro Part 1
Installation
Git Download: https://git-scm.com/downloads
Getting Started
$git init
This command creates an empty git repository. You should be able to see a .git file in your working directory.
let's add a new file to our repository. Create a text file and name it README.md(readme files are known as a primary introduction profile for repositories). After creating a new file execute the below lines and you should see results like the following picture.
$git status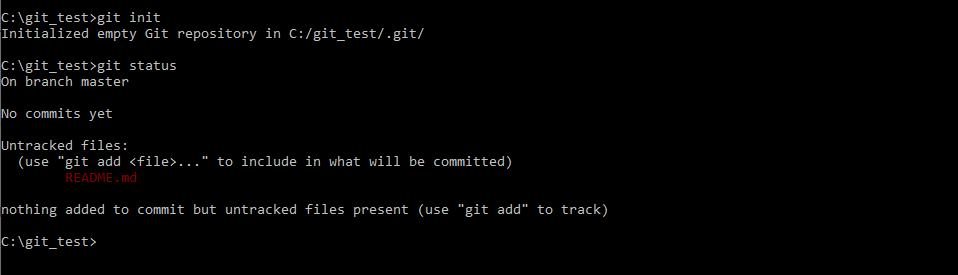
Git does not track each and every file that is located in your working directory. To add a file to git's tracking list, the following command is used.
$git add <file_name>
in our case:
$git add README.md
To add all files:
$git add --all

Tracking a file is not equal to saving changes. To save the changes made in a project it's needed to commit the files.
To commit a file execute the below lines:
$git commit -m "commit message"
in our case: $git commit -m "add README.md"
That's it the changes have been saved, and it's possible to roll back to this commit at any time in the future.
Create new files and change the content of README.md and commit them.
To see the logs execute:
$git log --oneline
you should see something like the below picture.

Remote repositories
So far we saved and tracked files and changes in our local system, what if we want to share the files with a colleague or want to save them in a cloud??
There are two main remote repositories based on Git, namely Github and GitLab. We are going to discover Gitlab because it provides private repositories with other fantastic features like DevOps, gitlab-ci, and ...
Shipping projects on GitLab is completely straight forward:
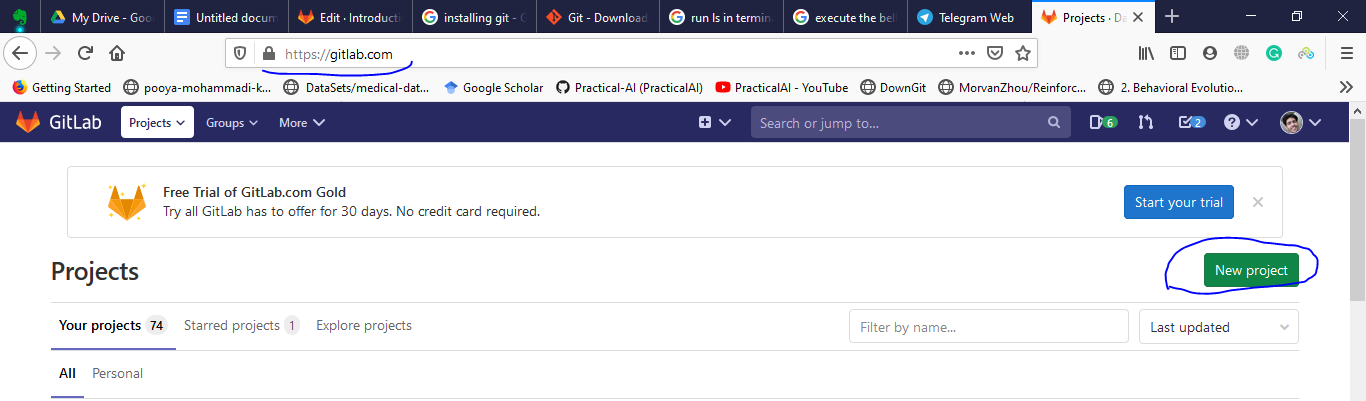
First, create a new project like the following picture:
After filling the project name and selecting the visibility level, you'll see something like the below picture:
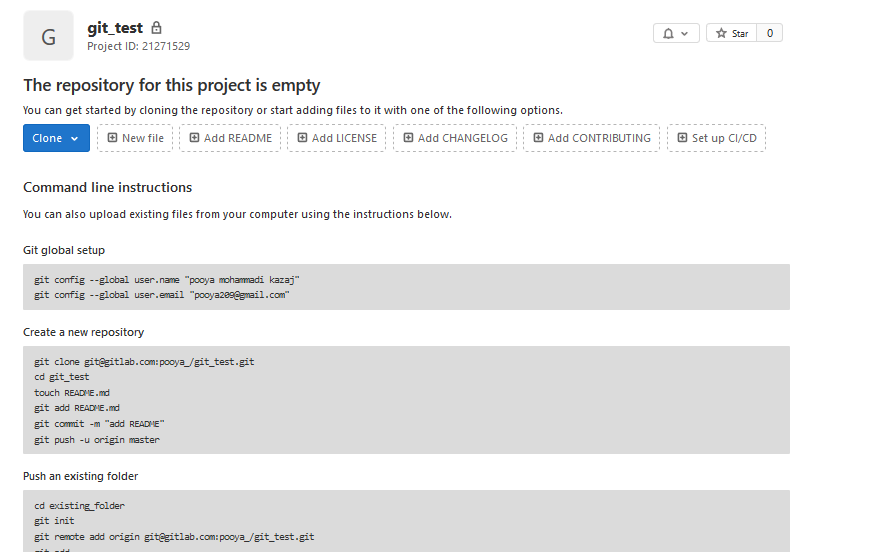
The instructions contained in the picture are self-explanatory but to summerize the below line of codes can be used to add a project to a remote repository:
git remote add origin project_address
in our case:$git remote add origin https://gitlab.com/pooya_/git_test.gitPushing commits and files is available using:
$git push origin branch_namenote: we'll talk about branches in the next parts.
in a simple case:
$git push origin masterIf you reload the project window you'll see something like the picture below:

That's it, all the files are uploaded on the GitLab repo.
Note:
In almost all of the projects, the project is synced to a remote repository from day one. So the following commands happen to occur together most often:
git add filename or git add -A or git add .

git commit -m "commit message"

git push origin master
How to Download a predefined code from gitlab/github
To Download the project we need to Clone it
git clone https://github.com/Practical-AI/deep_utils.git
Check out the following figure as an example: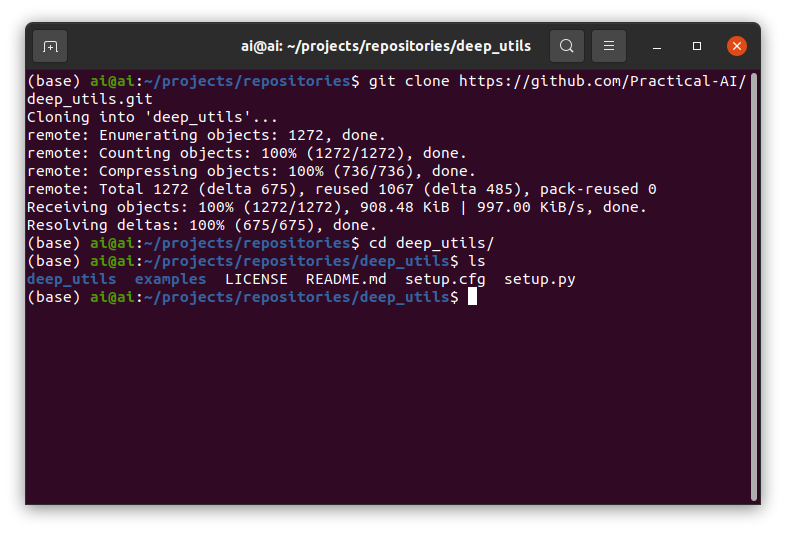
Now the code is in your local machine in the exact directory that you download it. It's ready to be developed!!